distance learning

Activity: Pop Tarts Ducky Face (Nonsense song)

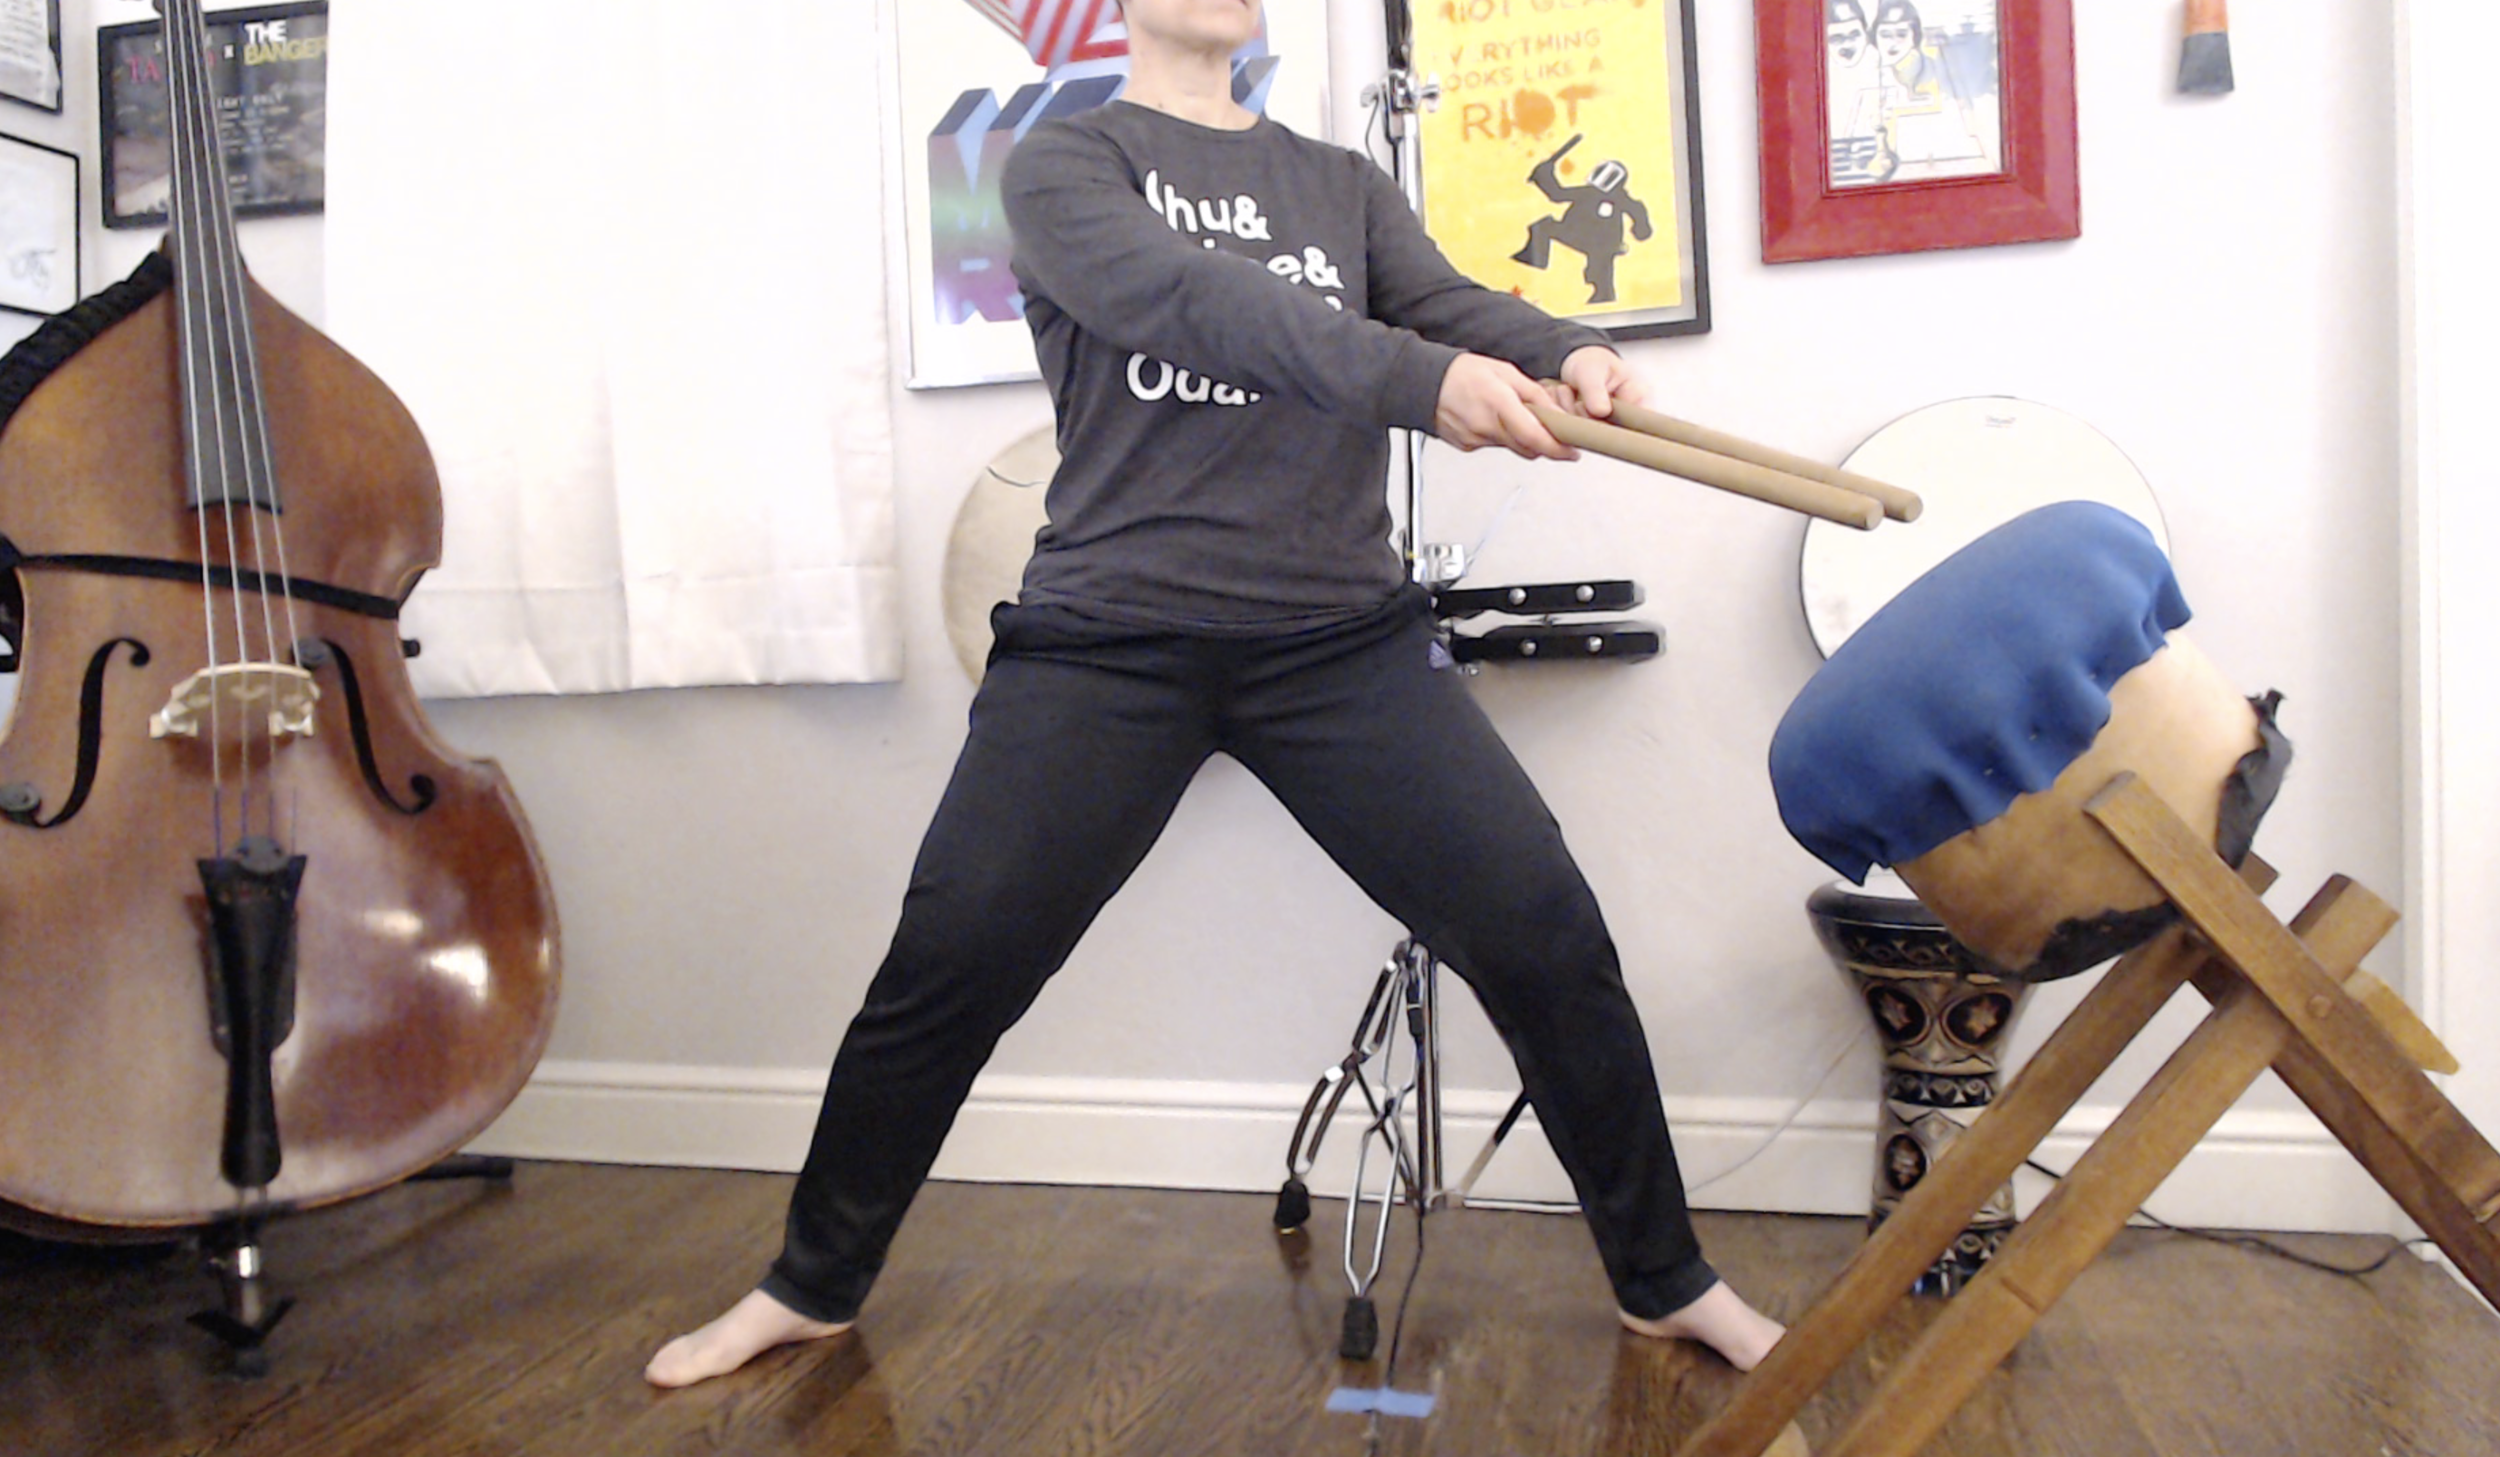
Nonsense songs are a great way to introduce the concept of syllables corresponding to rhythms, the way they do with kuchishoka. We’ve created several for our kid’s Taiko Zooms, and my favorite is Pop Tarts Ducky Face. It’s good for ages 4 - 8(ish), depending on how you use it. It’s written out here in kuchishoka and western notation, and I demonstrate it twice in the video. First, I show how it works on drums, then I show one way it can be done with body percussion if you and/or your students can’t access instruments. 

To introduce this to 4-6 year olds, the script goes something like this:

Now we’re going to learn a fun new song! Everybody listen. (Do the song) Ok, that was it. Listen again, and pay attention to what I do with my bachi and hands when I say Quack. (Do the song) Did you notice? This next time, do that movement with me. (Do the song, kids copy your movement) Great job! Now, this next time, do that movement with me and say Quack when I say it. (Do the song) Way to go! Okay - this last time, do the Quack with me and also do the Boom! (Do the song) Nice work everybody!

This takes about 2 minutes, which is an attention-span friendly amount of time for these ages. Next class, do it again, and encourage kids to play or clap along, or to say more of the words. You can come back to it for many classes, building on it each time, but don’t spend more than a couple of minutes on it in a class. 

With kids age 7-8, you can spend 5-10 minutes on an activity before it’s time to move on; your first step is to demo the whole thing, then follow the “First me/Now you” method to teach it. Once students have it, play it all together a few times. You can have them rotate between drums in between repetitions if they need more challenge. With especially advanced groups, teach them the body percussion version, and then have them build their own body percussion phrases to go along with the words. 

Kids LOVE this activity, and it works in both virtual and in-person classes. Let me know if you try it - I’d especially love to hear about any modifications you make! - and happy teaching!


Teaching over Zoom: camera angles

Front cam

Front cam

A teacher should make it as easy as possible for their students to learn. This can be tricky in Zoom classes. Chances are your students have a mix of visual processing styles, and you can (and should!) set them up for success by using multiple camera views. Kristin and I use a front cam and a sky cam in our Zoom classes, and recently added a foot cam as well. 

Sky cam

Sky cam

You don’t have to shell out for new webcams to do this. If you host your class meetings on a laptop, use the embedded webcam as your front cam, and your phone as your skycam. (Assuming you have a phone with a camera and wifi.) You’ll need to do a little creative problem solving to set up your skycam, but we’re teaching artists, we eat creative problem solving for breakfast! Kristin and I set ours up  by mounting a tripod cell phone attachment to a lamp extension arm, and then hooking that up to the top of a heavy percussion stand. It wasn’t pretty, but it worked!

Once the phone is in place, you’ll host the meeting on your laptop, and also call in as a participant with the cell phone. When you want to use the skycam, turn off your computer video and sound, mute your computer, unmute the phone, turn on the phone video, and spotlight the phone. Reverse these steps to switch back to the front cam. Leave the phone muted with video off unless you’re sky cam-ing. VERY IMPORTANT: You need to plug headphones into the phone to avoid the echo/feedback issue you get when two devices in the same room are on the same Zoom call.  

If you have some money to invest, buy a webcam and some USB extension cables. Then, put your webcam in your skycam mount and use the cables to connect it to the hosting computer. It’s much easier to switch between cameras when they’re both plugged into the same device (there’s even a keyboard shortcut to do this in Zoom) and you don’t have to do all that unmute/mute business.

Foot cam

Foot cam

We’ve found that people LOVE the sky cam, particularly when we’re introducing new drills and songs. Just this week we added a foot cam for our naname class. This view shows the teacher from chest down, providing a visual reference for foot placement, leg engagement, and koshi integration. I highly recommend adding this view if you’re focusing on kata or introducing a style people aren’t very familiar with.

Drop me a line if you have questions or want to talk through using multiple camera angles in your classes. Happy teaching!