drums

Activity: Teaching Improvisation

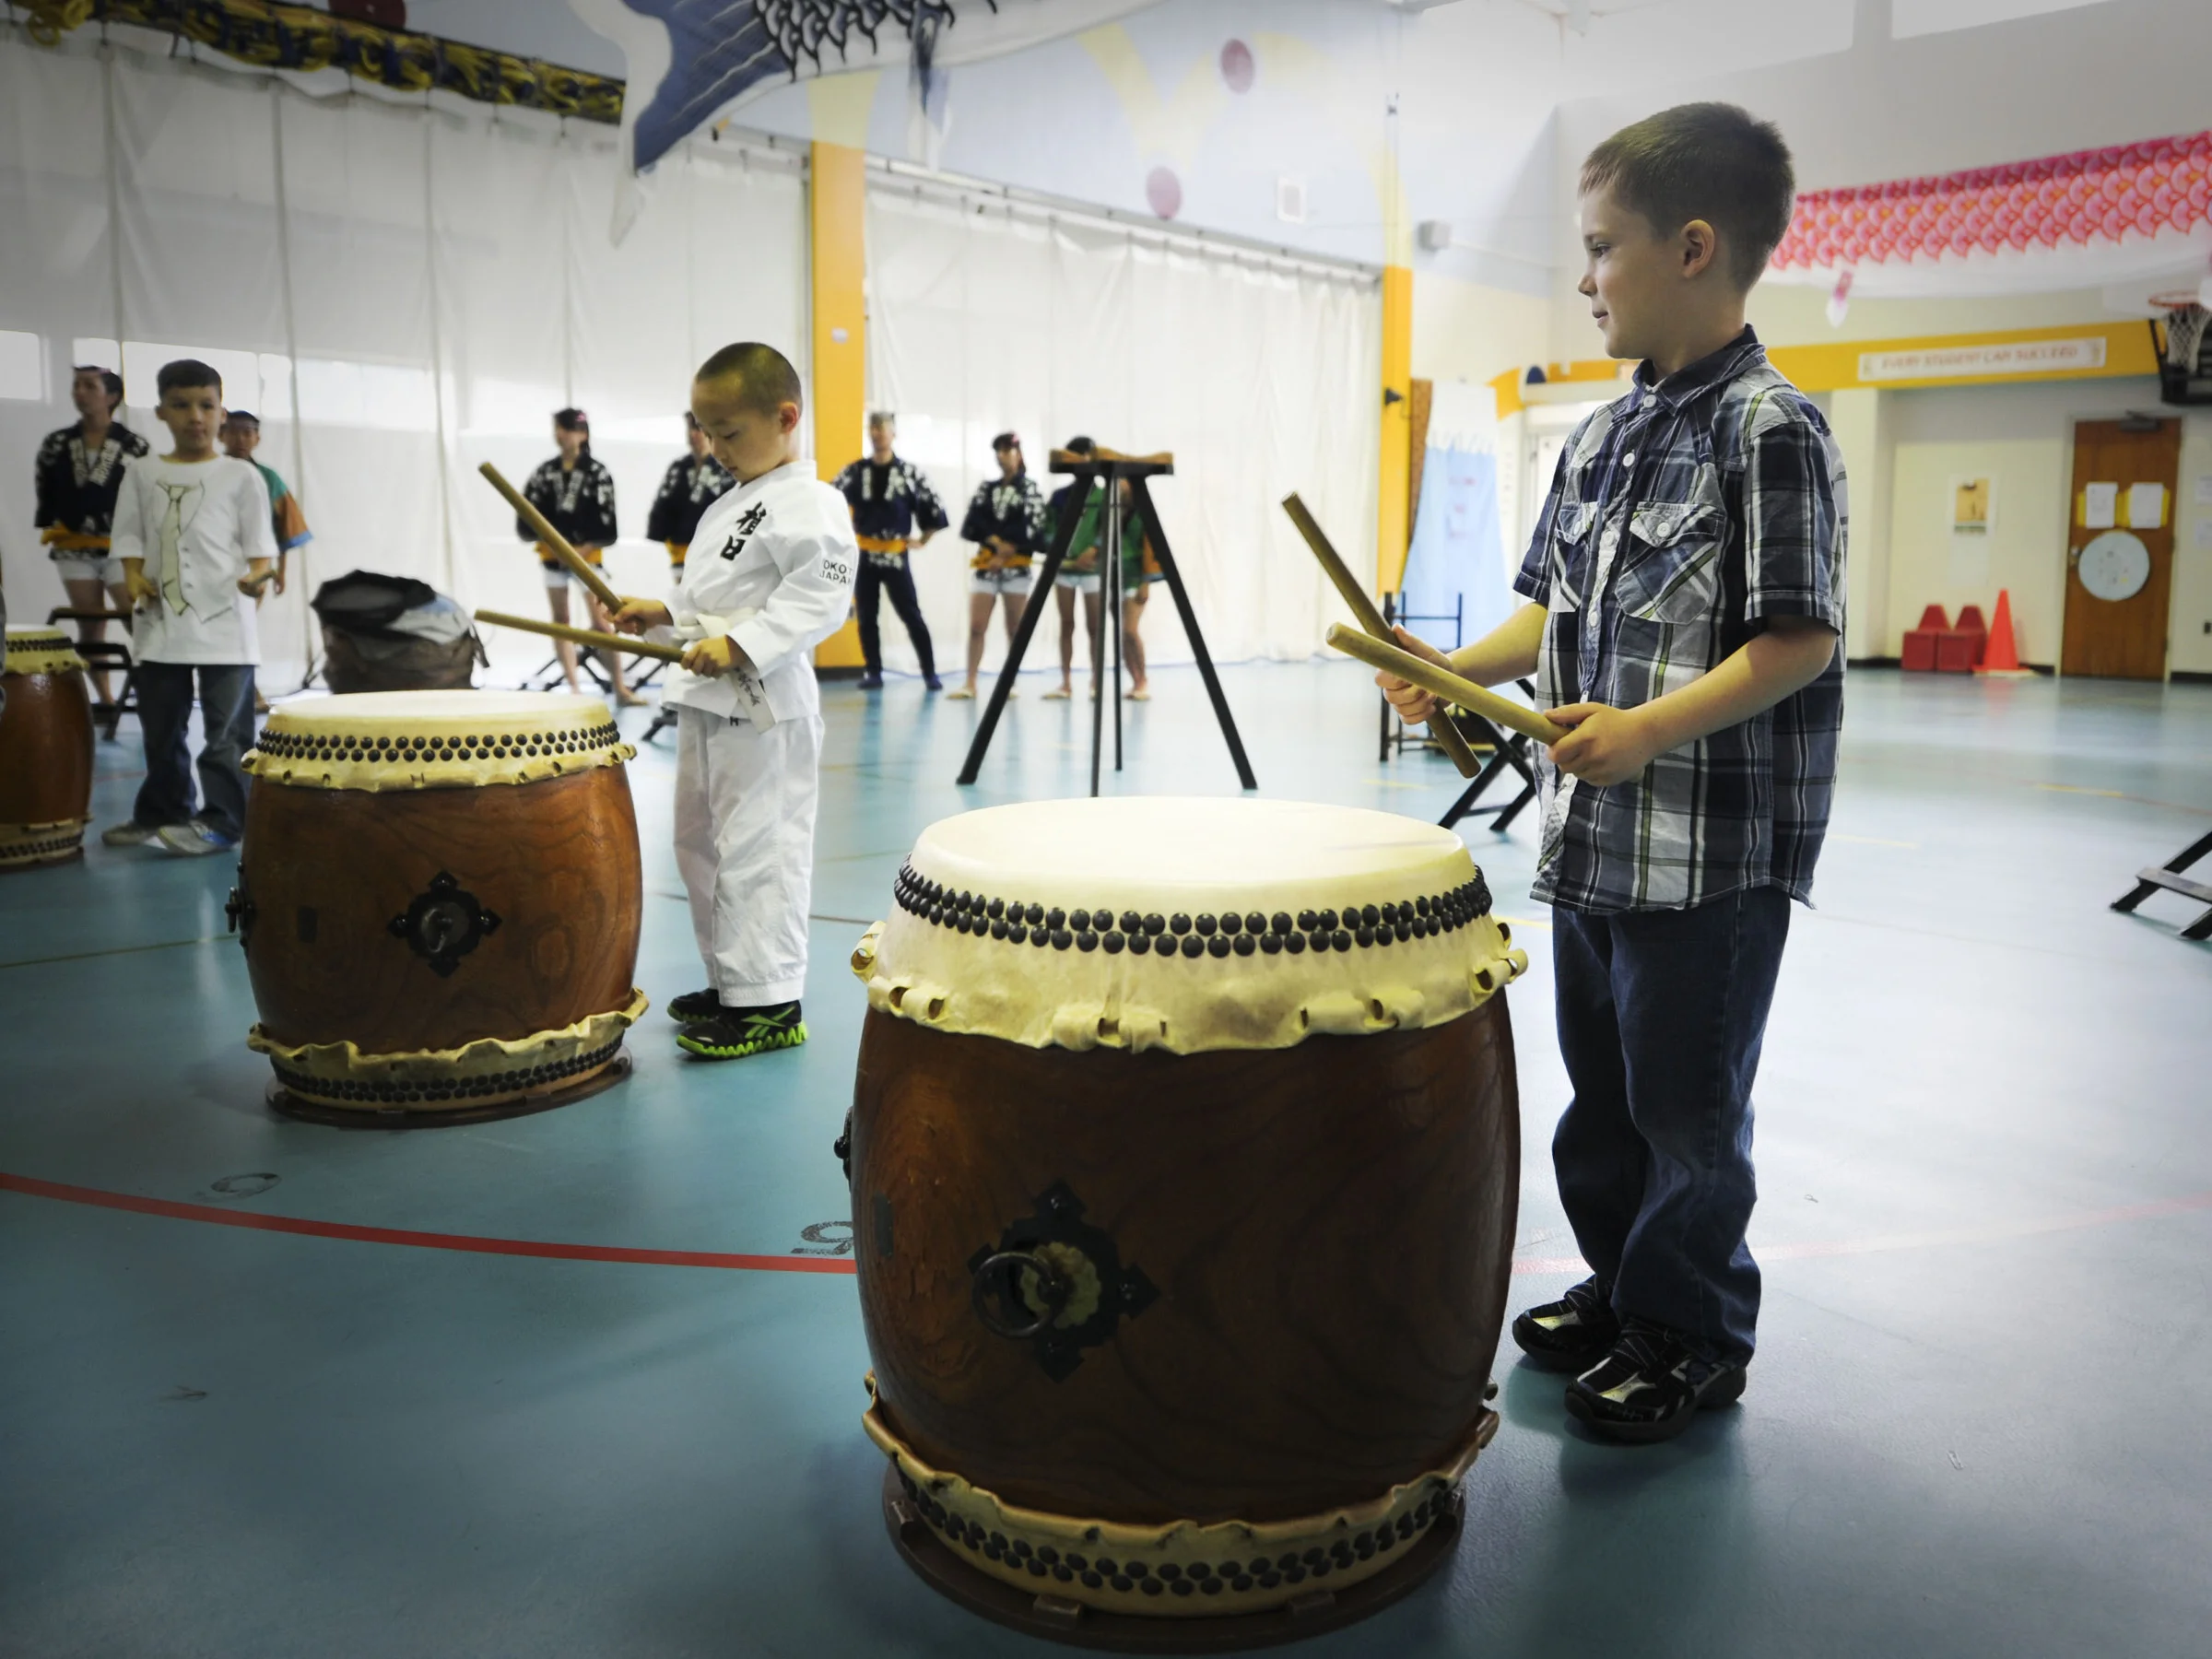
Improvisation can (and should!) be taught. Kristin created the activity below and I adapted it for my 4th and 5th grade residency this week. The students loved it! It’s a low-pressure way to introduce beginners to the wonderful world of making stuff up. Playing an improv by yourself is a highly exposed - and therefore high-pressure - act. This activity reduces the pressure by having everyone improv at once. Bonus: it also introduces the concept of a musical tag that indicates the beginning/end of an improvised solo.

  1. Have the students play 4 don in unison while you play a straight jiuchi. (Extension: see if they can tell you how many beats that was.)  

  2. Have the students play 4 don in unison, followed by 4 beats of improv (everyone at the same time). Keep the jiuchi going for those 8 beats.

    1. If students have trouble feeling the four, here's a way to build that skill. Alternately, you can count the 4 beats of improv out loud for them.

  3. Have them play several rounds of 4 don/4 beats improv; play a straight jiuchi the whole time.

  4. Stop to debrief. 

    1. For adults, a general “how’s it going?” will usually start a good conversation.

    2. For kids, have them talk in pairs about how it’s going, then choose several kids to share with the class.

  5. Go back to alternating 4 don/4 beats of improv for several more rounds. If students are doing extremely well, change to 8 don and 8 beats of improv.

Written out, it looks something like this:

Improv Exercise Graphic.jpg

This will go best with proper scaffolding. The school where I’m currently working can’t afford an ongoing music program, and very few students come from families that can afford private music lessons. Most kids had zero music education before I started there 3 weeks ago. I scaffolded this over two lessons using our Taiko Tiles and my method for teaching older kids to solo. Kristin and I have also done this in our adult community class and used our Taiko Tiles and Kuchishoka Deck to scaffold. Without that prior experience, this activity can be an exercise in frustration; with it, you have a fun challenge that builds student skill and confidence.

Happy teaching!

Taiko Games: Call and answer, but evil

Happy New Year, it’s great to be back! First some shout outs: to the inspiring and dedicated groups I worked with in November: Kokyo Taiko, Soten Taiko, Beni Daiko, Ft. Wayne Taiko and Southern Indiana Taiko; to the 200+ folks who took my workshop and the many more I met at the Percussive Arts Society International Conference; and to kaDon, who provided TimbreTaiko and uchiwa clamp setups for PASIC! These were practical and easy to use and you can read more about them here.

A few weeks ago I wrote about the power of Call and Answer to help students get used to improvising. I’ve also talked about how important it is to mix up your activities to keep students engaged. This is true for students of any age! The activity below is afantastic way to challenge students who are already successful at basic call and answer. Originally from my Orff training, I’ve adapted it for taiko.

  1. Play a 4-beat rhythm for students to echo.

  2. While they are echoing the first rhythm, play a second 4-beat rhythm. This is the next pattern the students have to echo.

  3. While students are echoing the second rhythm, play a third, and so on and so on until their heads explode.

The example below shows three full rounds and the beginning of a fourth. 

ComplexCanonGraphic.jpg

This is HARD, for students and teachers alike. In my experience, the first two rounds usually go fine; things go off the rails in Round 3. Start with just 3 rounds, and give students feedback on how they’re doing. As they improve, try more than 3 rounds. It’s really challenging to keep track of how well students are copying one rhythm while you’re playing a new rhythm, but you need to so you can give genuine feedback. (That’s what makes this challenging for teachers.) Let me know how this goes for you, and happy teaching!

Teaching Adults to Solo: Feeling the Four

fours (2).jpg

If you’ve paid much attention to popular music in the US, you’ve probably built an experiential understanding of a 4/4 time signature. You can also probably sense when a musical phrase is about to end, and you may have noticed it’s often after 16 beats, or 8, or some other multiple of 4.  

Not everyone pays this much attention to music though, and I’ve worked with taiko students who haven’t built an internal sense of what 4 beats feels like (yet). As a result, they sometimes create solos that are 9 or 17 or 33 beats long. These can be cool, but more often than not they derail the rest of the students, who are concentrating on holding a jiuchi and/or playing the tag that’s coming up. There’s a time and place for advanced  solos, but it’s not usually your beginner class. If you have a student whose complex timing is difficult for your other beginners to follow, consider moving that player to a more challenging class before they get bored and quit!

Helping students build an internal sense of 4/8/16 beats frees them to focus on movement, playing on beat, expression, and the 1,000 other things that go into soloing. Here’s how I’ve helped students build an internal sense of 16 beats. It can be easily adapted to any phrase length.

  1. Play a straight jiuchi and lead your students in counting to 16 out loud on the beat. Make sure you don’t let two syllable numbers take up two beats.

  2. Keep the jiuchi going for another 16 beats while you continue counting out loud. Have students improvise a solo (everyone at the same time, aka chaos soloing). The students don’t need to count to 16 out loud while they’re playing, but they’re welcome to.

  3. Alternate the counting for 16/playing for 16 for 10-20 rounds.

As your students get more comfortable, step down your support (i.e., only count the first 4 and last 4; stop counting entirely; don’t let the students count out loud while they’re playing). You can (and should!) also try this with a swing and horse jiuchi. Doing this for a few minutes for several classes in a row will help your students internalize what 16 beats feels like.

Let me know how this technique works for you and how you adapt it, and happy teaching!

(Lastly, a shout out to everyone I connected with at NATC in Portland! It’s so inspiring to see taiko people from all over North America come together to share our love of this art form. I was deeply touched to hear how many of you have been using activities from this blog in your classes. Thanks to everyone who attended and took the time to say hi, and I hope to see you all at NATC in 2021!)


Taiko Camp Part 3: Tanko Bushi & Putting it all together

2019CampTeaching_1.jpg

Having a unifying concept makes an educational program cohesive. For my taiko camp, I chose Obon as the unifying concept because of the time of year (summer camp, summer festival), the ties between obon and taiko, and the cultural significance of the holiday both in Japan and in Japanese American communities in the US. 

That unifying concept pulled together learning taiko, making a papier-maché chochin, learning Tanko Bushi, and holding a mini-Obon on the final day. If you don’t know Tanko Bushi, a Google search will yield thousands of videos from which you can learn it. You should know the context of the song/dance before teaching it, and the Wikipedia entry on Tanko Bushi is pretty comprehensive. The best part about this dance is that it’s simple, so kids can easily build enough mastery to teach the dance at their mini-Obon, giving them a strong sense of accomplishment and pride. 

My Taiko Camp: Full Curriculum lays out exactly how I fit the Chochin, Matsuri, and Tanko Bushi activities together day-by-day. It’s a step-by-step guide to leading your first taiko camp. If you use it, I’d love to hear about it. Happy teaching camping!

Taiko Camp Part 2: Teaching a Song

It wouldn’t be a taiko camp if the kids didn’t play taiko! I recommend teaching a song that combines unison playing with soloing so students get to experience both of these elements of our art form.

2019CampTeaching_1.jpg

In my most recent camp, I taught Matsuri, arranged to include short duets the kids wrote themselves. I broke the process down over the 5 days of camp as outlined here. By the last day the kids were ready to perform the song for their mini-obon.

Happy teaching camping!

Teaching Beginners to Solo: Wipe Out!

You should always have more than one activity for skills you’re helping students build. A few weeks ago I wrote about teaching adults to solo using the kuchishoka deck.

Wipe Out Easy.jpg

Wipe Out! is another great activity that 1) reduces the intimidation factor around soloing 2) shows how powerful ma can be and 3) builds a feel for an 8-beat phrase. Don’t let the fact that it’s a game make you think it’s only for kids! Although I originally created it for kids, I’ve done it with kids and adults and it’s always a hit.

Here’s how Wipe Out! works. You’ll need a white board.

  1. Write the numbers 1-8 on the board.

  2. Have the students choose straight ji or swing ji and start that ji on the shime. (For true beginners, just go with straight ji.)

  3. Count the students in and have them play 8 don, one for every number on the board.

  4. Erase a number from the board.

  5. Count the students in and have them play 7 don and 1 su, placing the su on whatever number you wiped out.

    • For example; if you erased the 5, they’d play: don don don don su don don don.

  6. Repeat steps 4-5 as many times as you want.

Wipe Out Variation.jpg

As people get more comfortable, challenge them by inviting a student to come up and do the wiping out, or by eliminating the pause/count in between the wiping out and playing the revised phrase, or by letting them change a number to ka by underlining instead of wiping out, or to doko by underlining twice (seen in the photo on the left).

It’s a little silly, it’s a lot of fun, it’s challenging but not impossible, and all of that generates an learning environment where students are more willing and able to take risks (like soloing!). Have fun with it, and happy teaching!


Teaching K-3 students to solo

Creating patterns

Creating patterns

Soloing can intimidating. It’s a tough skill that draws on multiple competencies; acute awareness of the pulse, a large “beat vocabulary,” confidence, and more.

Soloing can be taught, but students get overwhelmed if you try to do it all at once. My method of introducing soloing to younger students breaks the skill into bite-sized pieces learned over several weeks. It’s one thing I do in class over those 4 weeks, rather than the only thing we work on. With students this age I let them create and play duets if they want, which is less high stakes and cultivates confidence.

Here’s my method:

Week 1

  1. Teach kuchishoka using the Squirrel Village story.

Fill the boxes with one kuchishoka each.

Fill the boxes with one kuchishoka each.

Week 2

  1. Remind students of the squirrel rhythm pattern from the story. Have them play it on their laps. Point out that the number of syllables they’re saying corresponds to what they’re playing.

  2. Draw a horizontal rectangle on the board. Divide it into 4 equal boxes.

  3. Choose 4 kids. Have each say don or doko. Write the words they say on the board, one per box.

  4. Lead the class through clapping the pattern their classmates created.

  5. Have students move to drums.

  6. Lead students in playing the pattern on the drums.

  7. Repeat steps 3, 4, and 6 two or three times.

  8. Introduce su. (It’s in the squirrel rhythm, but they won’t have realized it.)

  9. Repeat steps 3, 4, and 6 several more times, adding su into the mix.

Week 3
(Ask teachers to bring individual whiteboards, markers, and erasers to class.)

  1. Do steps 3, 4, and 6 from last week to activate their prior learning.

  2. Give 2-3 minutes for students to create a 4-beat rhythm pattern on their own whiteboard, drawing boxes and writing words inside them (the way they’ve been doing it as a class). Allow them to work in pairs with their drum partner or own their own.

  3. Have students say and clap their individual patterns all at the same time.

  4. Have students play their individual patterns on the drums all at the same time.

  5. Have students leave their whiteboards and rotate to a new drum.

  6. Repeat steps 4 and 5 at the new drum.

  7. Rotate and repeat for up to 20 minutes.

Week 4
(Ask teachers to bring whiteboards again.)

  1. Have students make up their own patterns individually or in pairs.

  2. Have students play their patterns all together.

  3. Have students play patterns one at a time. You need to conduct this. I count in the whole group, then make friendly eye contact with a student when it’s their turn to play and mark their 4-beats with my hand. The first time around is rocky, but the second time goes fine.

At the end of Week 4, each kid or pair has a short solo ready to plug into a song. Have them play it twice if you need a longer one. Be sure to email your classroom teachers before Weeks 3 and 4 to ask them to bring their individual whiteboards to class (I have yet to run into a class that doesn’t have a set).

If you try this approach, let me know! I’d love to hear how it goes. Happy teaching!


Introducing a jiuchi: 4th and 5th grade

blog pic mel ost ji.jpg

The hardest part about teaching by yourself is holding the jiuchi. If you play it, students will try to copy you; if you don’t play it, then the group as a whole will have trouble staying on the same pulse.

Below is my method for introducing a jiuchi to 4th and 5th graders (here’s the post about doing this with younger students). The alphabet/ostinato activity is from my original Orff training, and I developed the taiko extension.

This activity takes 20-30 minutes, longer if you have to do Step 9. The three parts are written out here for reference.

  1. Teach the alphabet body percussion exercise described here.

  2. Point out that you have two elements going: a melody and an ostinato.
    NOTE: “melody” isn’t exactly the right word, since clapping isn’t pitched, but it’s close, and it’s a word they’re likely to recognize, so I go with it.

  3. Have students do the alphabet body percussion with the ostinato again.

  4. There is a 99.9999% chance that they will speed up. Point out that they did. (If they didn’t, congratulate them on that, and say that groups usually do.)

  5. Define tempo. Discuss how faster isn’t always better, and that what you’re usually going for in music is a steady tempo and a shared pulse.

  6. Explain that in taiko, we use a jiuchi to help keep a steady tempo and shared pulse and that this rhythm pattern usually happens on a shime.

  7. Demonstrate the pulse for the body percussion exercise they just did.

  8. Have them do the exercise again using body percussion while you play a jiuchi on a shime.

  9. If students haven’t yet played drums in your class yet, spend some time describing how to play the drum safely, respectfully, and musically.

  10. Have students transfer the body percussion to the drums as outlined in the pdf.

In my experience most 4th and 5th graders do well with this method. A few get confused, but they usually figure it out by watching their classmates. Notice, there’s more talking/explaining with students this age than with younger kids.

Let me know if you try this method and how it works for you. Happy teaching!


Introducing a jiuchi: K-3

A big challenge when teaching by yourself is the jiuchi. If you play it, many students will copy you rather than playing their part; if you don’t play it, then the group as a whole will have trouble staying on the same pulse.

I’ve developed two methods for introducing the jiuchi, teaching students how to pay attention to it without copying it exactly. The method varies from K-3 to 4th/5th; here’s how I do it with the little ones.

  1. Introduce a Play 4 Step 4 pattern.

  2. Gradually build in more Play 4 Step 4 patterns until they can do 4-5 in a row.

  3. Have them to do Play 4 Step 4 the whole way around (i.e., each student plays every drum and winds up back at their original drum).

  4. Introduce bachi (covered in a later post).

  5. Repeat steps 1-3 with bachi.

  6. Gradually introduce jiuchi.

Basically, I play in unison with them for several rounds of a simple pattern they’re comfortable with, and then phase in the jiuchi. When they stop, I ask them if I was playing the same thing as them the whole time. Most of them have noticed that I wasn’t (but stayed with their pattern even when I switched).

This takes place in Week 2, and I return to it in Week 4. With those two introductions, students usually have the understanding they need to listen to and be on beat with the jiuchi without copying it exactly.

Send me an email if you have questions, and happy teaching!


Taiko Games: Read My Mind

Read Mind 1.JPG

I first encountered this game in my Orff training and adapted it for taiko. It’s an excellent way to review songs, but can also be adapted to give students low-risk practice in making up 8-beat rhythm patterns. It’s great for students in grades 1-5 (roughly ages 6-11). Adults and playful high schoolers can have fun with it too, but it’s not a good fit for the middle school set (roughly ages 12-14).

The set-up

Choose a piece of a song you’re working on in class, but don’t tell the students what it is. For example, if your students are learning Matsuri, choose a line from that song (i.e., don don don kara ka ka).

Ask the students if any of them can read minds. (A few will raise their hands.) Tell them you’re thinking of a part of a taiko song and you want to see if they can read your mind. For beginning or younger students (1st-3rd grade), tell them which song. For more advanced or older students (4th grade and older), don’t tell them which song. For all ages, DO tell them how many beats long the part is.

How to play

  1. Arrange the taiko in a circle so all students can see each other. Include a shime.

  2. Teacher begins playing a jiuchi on the shime.The students begin playing phrases, trying to guess what phrase the Teacher is thinking of.

  3. When a student plays the phrase the Teacher is thinking of, Teacher says “1 person is reading my mind!”

  4. The other students then use deductive reasoning to figure out who’s “reading the Teacher’s mind.”

  5. As more and more kids figure out the correct pattern, the Teacher keeps giving updates. “Now 2 people are reading my mind! Now 3!”

The game continues until everyone is “reading the Teacher’s mind.”

Variations

  1. Instead of a phrase from a song, think of an original 8-beat rhythm pattern and see if any of the students can figure it out. (Sometimes I start a round with no particular pattern in mind. When a kid plays one I like, I decide that’s the one.)

  2. Let a student lead this activity. Advanced/older students can try playing shime while they have their mind read.

  3. If your kids need to get some wiggles out, play this as a movement game. You play a song or rhythmically regular pattern on the taiko and think of a SIMPLE movement that could be used to show the pulse of that pattern. (Tapping head, patting knees, jumping jacks, the floss, etc.) The class tries to figure out that movement.

Try this in your class next time you’re working on a new song and the students need a brain break. It gives them a rest AND reinforces the patterns. Happy teaching!


Another Song for Beginners: Sanae Swing

Many beginning students have trouble feeling a swing jiuchi. This is especially true for new players who don’t have music or dance training before coming to taiko. I created Sanae Swing as an entry-level piece to help these players build facility with swing ji and with creating and playing solos.

Structurally, the song is very simple. It’s just an Intro/Outro pattern, a tag, and places for players to plug in solos (or duets, if they’re not comfortable soloing yet). The kuchishoka deck is a great tool for students who are new to creating solos. I highly recommend printing one (or more) and using it (them)!

The video above shows our community class playing a short arrangement of Sanae Swing. They opted for duets rather than solos and used the kuchishoka decks to create them. The kuchishoka and western notation are here. If you teach this song, please post video and let me know! I’d love to see where people go with it.

Happy teaching!


A Song for Beginners: Bamboo Shoots

Every beginning player needs to learn songs that reinforce the skills they’re learning. Renshu (by Seiichi Tanaka) is such a song. Renshu is canon, and an important part of North American taiko history. You should teach Renshu! (If you don’t know or know of Renshu, Google it now!)

But you shouldn’t only teach Renshu. In general, beginning players like to learn a lot of new songs. The more songs you can teach them, the more they’ll feel like they’re progressing (and the greater rep they’ll have to draw on for future performances).

Bamboo Shoots (Takenoko) targets middle and high level beginners. It’s challenging enough that your fastest learners won’t get bored but easy enough that slower learners will still succeed, especially if they have faster peers to copy. The video features my community class playing a short arrangement of Bamboo Shoots and includes the kuchishoka. The full song is written out here in kuchishoka and western notation.

The song’s pretty simple. If you use it, please post a video and let me know. I’d love to see where people go with it. Happy teaching!


Basic Beats: Three drills for beginners

When players are first starting out, they need drills with simple patterns. The video on the right features three drills I created to help students practice basic beats (don, doko, ka, kara, tsu, and tsuku). These drills work for both kids and adults.

It’s important to get people vocalizing from the get-go, to prepare them for kiai later on. I also like to get people playing both right and left hand lead from the very first class.

The drills are written out here (in kuchishoka and western notation, thanks once again to Kristin). I don’t recommend giving written materials to students before introducing a drill or song, because it reinforces learning through intellect rather than learning through experience. But giving written materials AFTER introducing a drill or song is great! It helps students practice patterns correctly and can be critical to the success of your visual learners.

Happy teaching!

P.S. A shout out to my current community class students, who are demonstrating the drills in the video!


If you fail to plan.…

pic for lesson planning post.jpg

Planning your lessons in advance takes time, but it’s time well spent. It’s the difference between mediocre classes and students liking taiko more than recess. (TL;DR? Here’s a template you can use, and see you next post.)

There are lots of different ways to approach planning lessons. Here are two tips I’ve found helpful over the years.

  1. Plan your objective first.

You need to have a clear idea of what you want your students to understand or be able to do at the end of your class. Is this session about kuchishoka? Form? Learning a song? Building fundamentals for soloing? It doesn’t have to be just one thing, but it needs to be spelled out clearly. Begin with “By the end of this class, students will…” and then complete the sentence. (You can leave out the “by the end of this class” if it feels too wordy - I usually do).

2. Keep your students active.

When I was teaching in Japan, I was introduced to this format for lesson planning. I loved it, and still turn to it today. (Here’s an example of a lesson I planned using this format. Both “teacher” and “teaching artist” refer to the instructor leading the class.)

Try using this format to plan your next class. If you see a lot of “listening” or “watching” and fewer active verbs (i.e., drumming, chanting, moving, etc.) change up the lesson so students are more active.

A general rule of thumb: for K-1 students, you need to change activities at least every 5 minutes, or even more frequently. For 2nd and 3rd graders, change every 7 (ish) minutes; for 4th-5th graders, change every 10-15 minutes. Gr. 6 and up can easily spend 45 minutes and more on an activity, as long as they’re actively involved in their learning.

This means you have to have a lot of activities ready for lower grades and that it will take you several classes in a row to complete an extended activity. This is a great approach! It gives students a week to absorb information and experiences before moving on to more complex steps, which greatly increases success.

If you have any questions about a specific lesson you’re working on, feel free to email me. Happy teaching!